
Preferences
The Preferences section lets you customise how the LinkPanda App displays information. These settings are saved to your account and persist across devices and sessions.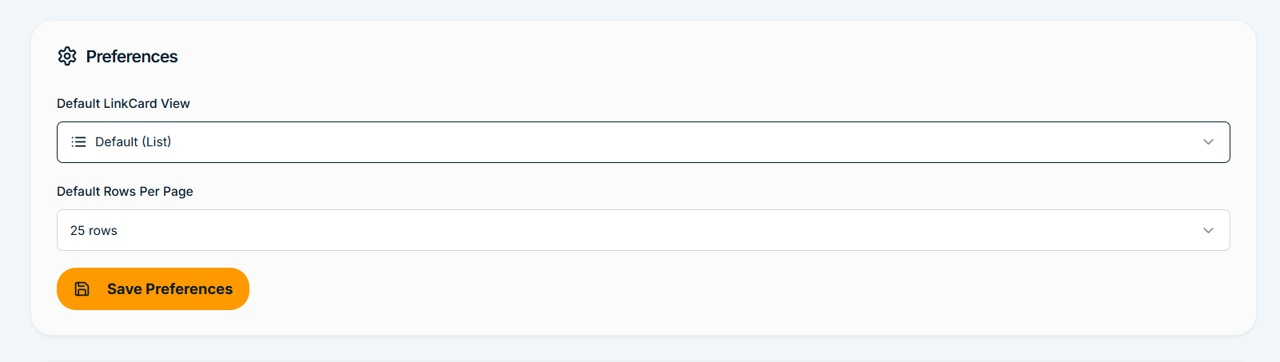
Default LinkCard View
This setting controls how your LinkCards are displayed by default when you open them. There are two view options available:
- Default (List): Displays your tracked backlinks in a standard table list format, showing Live URL, Anchor Text, and Target URL in rows. This is the recommended view for reviewing and searching through large numbers of links.
- Widget: Displays your LinkCard content in a widget-style card layout, which gives a more visual overview of your backlinks.
Select your preferred view from the dropdown and click Save Preferences to apply it.
Default Rows Per Page
This setting controls how many backlinks are displayed per page when viewing a LinkCard. You can choose from the following options:
- 25 rows
- 50 rows
- 100 rows (default)
- 200 rows
If you have a large number of tracked backlinks, setting this to 200 rows per page can reduce the amount of pagination needed. If you prefer a more focused view, 25 or 50 rows keeps the list concise. Click Save Preferences after making your selection.
Change Password
The Change Password section allows you to update your account password at any time. To change your password, fill in the following three fields and click the Change Password button.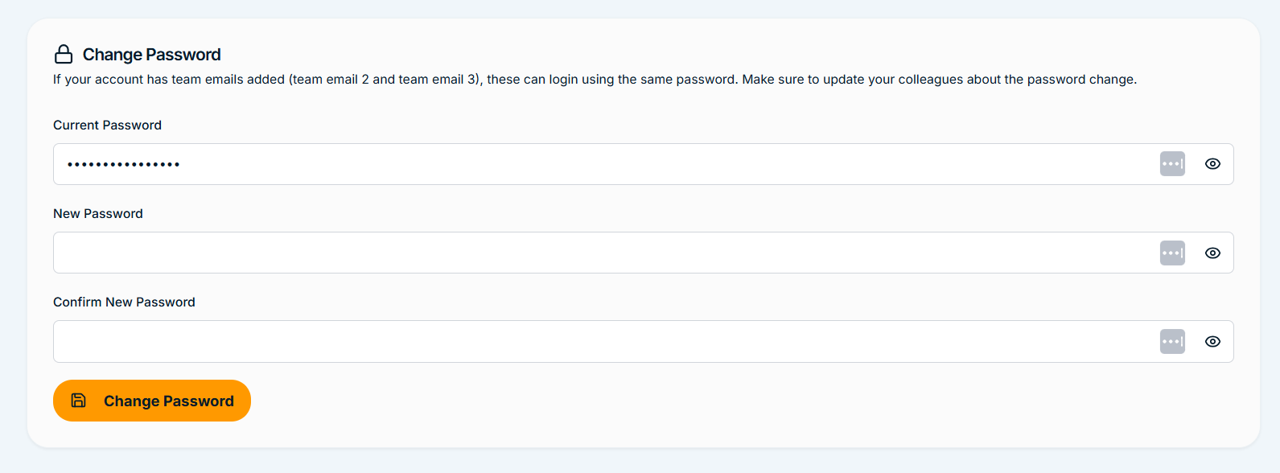
Enter your existing password to verify your identity before making a change.
Enter the new password you would like to use. Choose a strong password that is unique to this account.
Re-enter your new password to confirm it. Both entries must match before the change can be saved.
Recommended Setup Checklist
Here is a quick checklist to make sure your account is fully configured before you start ordering:
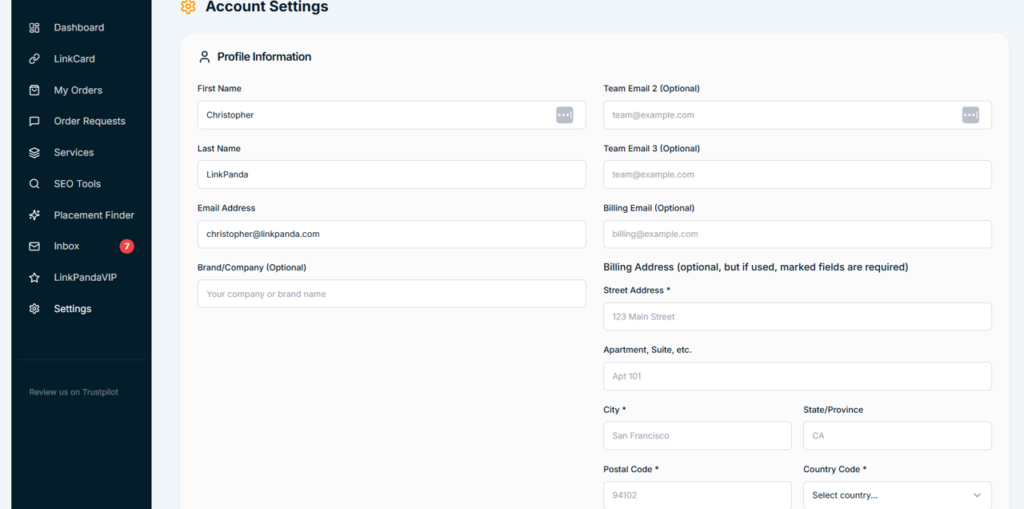
- Enter your first and last name
- Confirm your primary email address is correct
- Add your company or brand name if ordering on behalf of a business
- Add Team Email 2 and Team Email 3 if colleagues need access
- Add a Billing Email if invoices should go to a separate address
- Fill in your billing address if you need formal invoices
- Set your preferred Default LinkCard View in Preferences
- Set your preferred Default Rows Per Page in Preferences
- Click Save Profile and Save Preferences to store your changes
Need Help?
 Email: info@linkpanda.com
 Contact: linkpanda.com/contact